on
Hyperparameter Search on a Cluster (Part 2)
- Part 1: Hyperparameter search pipeline
- Part 2: Hyperparameter search pipeline distributed on Exoscale cloud
- Part 3: Employing external programs
The goal of this blog post is to demonstrate how to use Rain for a distributed hyperparameter search on a cloud infrastructure. In our previous blog post, we described hyperparameter search for the MNIST dataset using Rain in a single node environment.
This time, we use a virtualized cluster deployed at Exoscale infrastructure. We provide a script that makes it easy to deploy Rain on Exoscale environment and lets you start processing your workloads distributedly right away. It allows you to deploy a set of virtual machines and provisions a distributed Rain infrastructure in just a few minutes. Of course, you can always start the Rain components on any standard distributed infrastructure manually (read the documentation for more information).
A big thanks go to our friends at Exoscale for providing us the resources for testing Rain on their infrastructure!
Preparations
In this blog post, we expect that you have an account at Exoscale and you have
properly configured your .cloudstack.ini config file (how to do this is well
described here). We also expect that you have
an SSH keypair that allows you to access the virtual machines.
Next, make sure that following ports are allowed for outside access in your firewall settings:
- 7210 for client connection
- 7222 for dashboard
For setting up the infrastructure, we use exoscale.py from the Rain repository.
Starting machines
We start with deploying a set of virtual machines on Exoscale:
python3 exoscale.py create -n <N> --name mnist-test --keypair <KEYPAIR>
where:
<N>is the number of machines to spin up<KEYPAIR>is the name SSH keypair;python3 exoscale.py create --helplists available keys
This command creates a set of virtual machines on Exoscale and also creates a
local file default.env in the current working directory. This file is used
by other subcommands of the script as the reference to the created cluster. If
you want to maintain more running environments at the same time, you can use
argument --env to specify another environment file.
Setting up an environment
First, we install TensorFlow on all our machines:
python3 exoscale.py cmd "pip3 install tensorflow"
Then, we install Rain and start it:
python3 exoscale.py install --rain-download 0.4.0
python3 exoscale.py start
The last command starts Rain and gives us a server IP of running Rain server. If
you forget the address, you can always run python3 exoscale.py list-nodes
and the first listed node is the one where the server runs.
Running MNIST example
At this point, we have a distributed Rain infrastructure up and running. Rain server is ready to receive tasks from the client. To run our MNIST example from the previous blog post on this infrastructure, all we need to do is to point the client to the remote Rain server IP address.
To do so, find the following line in the MNIST script:
client = Client("localhost", 7210)
and replace “localhost” by the actual server IP address:
client = Client("<YOUR-SERVER-IP>", 7210)
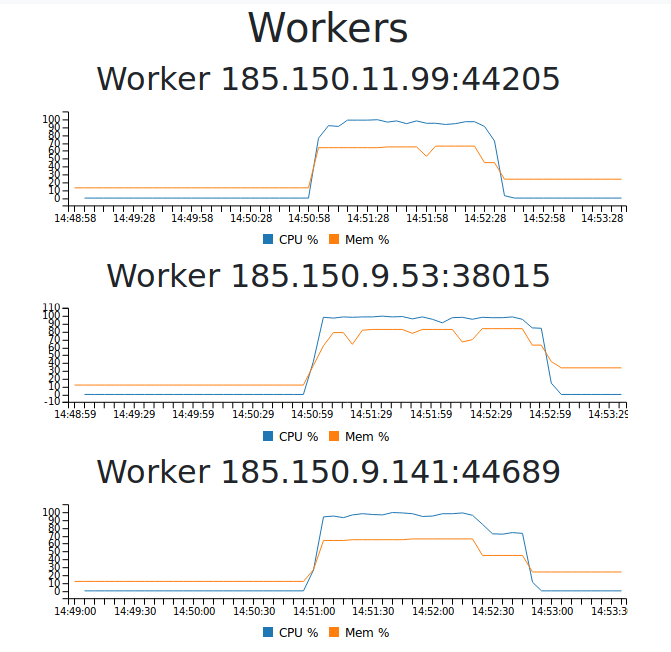
Now, run the script and the hyperparameter search will be executed on the
cluster. You can monitor the execution in the Rain dashboard that is running at
http://<YOUR-SERVER-IP>:7222.

Destroying instances
The allocated machines can be disposed by the following command. (Note, that, if
not specified explicitely, it only destroys the VMs from default.env.)
python3 exoscale.py destroy
